Durometers
6 Things to know before buying Durometers!
1. What are Durometers and how it works?
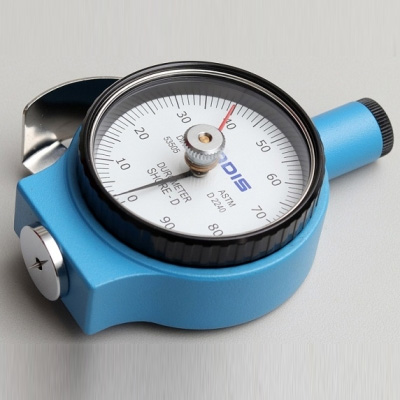
- Durometers are portable instruments for measuring hardness.
- It’s a measurement tool.
- It has a testing procedure for using it.
- It’s a specialized, self-referencing scale for comparing the hardness of a comparable group of materials.
Note: Durometer Hardness measurements are unitless. This is the main reason comparing hardness between different Durometer hardness scales is not recommended. Though these sorts of charts are widely available, comparing different hardness scales is only useful as rough comparisons.
A durometer or Shore durometer is a standardized way to measure the hardness of materials like rubber (elastomers) and plastics. Durometer measurement scales range from 0 to 100, but there is no such thing as a durometer unit of measurement.
Durometer numbers simply represent a relative comparison of hardness between different but similar materials that have had their hardness measured using the same durometer scale, device, and measurement standard.
In general, a higher durometer elastomer is harder than a lower durometer elastomer. For example, a 90 HA (Hardness Shore - A) polyurethane sheet is harder than a 70 HA polyurethane sheet.
Shore Hardness (SH) is actually a collection of internationally recognized measurement standards for Shore durometers. Shore Durometers are calibrated and found to be in accordance with these standards while measuring hardness. The Shore Hardness Standards provide consistent, universal, easily reproducible references that anyone can use to compare material hardness. The most common Shore Hardness Standards are ASTM D2240 & DIN 53505.
The ASTM D2240 & DIN 53505 standards: Actually, recognize twelve different Shore durometer scales for testing rubber hardness. The most common Shore Durometer scales used are Shore OOO, Shore E (Asker C), Shore A, and Shore D. Where the material hardness is greater than the previous scale reading. Shore OOO measures extremely soft rubbers, foams, and gels while Shore D measures hard rubbers and plastics.
What are Shore A and Shore D?
For measuring Shore Hardness of most rubber materials, Shore Durometers are usually provided as either Shore A or Shore D. Shore A Durometers are for softer materials and range wide enough to cover flexible rubbers all the way up to semi-rigid plastics with almost no flexibility. Shore D durometers are for harder materials and compare hard rubbers, semi-rigid plastics, and hard plastics.
What are the origins of the Shore durometer?
The Shore A hardness standard, the measurement device, and how it is used were all developed by Albert Ferdinand Shore in the 1920s. The Shore Durometer is actually the name of the measurement device.
Shore A Indenter (Contact Point) Shore D Indenter (Contact Point)
The arrows represent the applied load or force the Shore Durometer puts on the material. This load is acting through the indenters or instrument tips. The indenter on the left is for the Shore A test standard (822 grams spring force) and the indenter on the right is for the Shore D test standard (4.54 Kg.).
Notice that there are significant differences between the shapes of the indenter tips. Type A indenters have a 35° cone angle and Type D indenters have a 30° cone angle. Type A indenters have a “truncated” or flat tip that is 0.79 mm in diameter. Type D indenters have a sharper tip with a rounded end that is 0.1 mm in radius.
Key takeaways
There are several key points to keep in mind when looking at durometer numbers.
1. Each type of hardness testing uses testing procedures appropriate to that class of materials.
2. A durometer is a self-referencing scale that compares the hardness of a particular group of materials: elastomers and plastics.
3. There are a number of durometers or Shore durometer scales but Shore A and Shore D are by far the most useful and commonly used Shore durometers.
2. How the test works:
Shore hardness (also known as 'Durometer hardness') is determined by measuring the penetration of the Durometer's spring-loaded indenter into the sample. The operator applies the instrument to the sample with sufficient contact force, in a consistent manner, and without shock. During application the indentation reading may creep (decrease) over time because of the resilient nature of rubbers and plastics, so the test duration should be mentioned along with the hardness number e.g., 3, 15, or 30 sec. respectively. Likewise, sample temperature must be controlled and recorded as it can alter the result, the colder generally the harder.
The sample size is important and 6mm of thickness is generally accepted as the norm, samples can be plied but results may be softer. The sample should have a surface area such that it permits at least 5 test points each being at least 12mm apart and from the edge. The results are a useful measure of relative resistance to the indentation of various grades of polymers. However, the Shore hardness test does not serve well as a predictor of other properties such as strength or resistance to scratches, abrasion, or wear, and should not be used alone for product design specifications. Shore hardness is often used as a proxy for flexibility (flexural modulus) for the specification of elastomers. The correlation between Shore hardness and flexibility holds for similar materials, especially within a series of grades from the same product line, but this is an empirical and not a fundamental relationship. Remember polymers will have a specification that allows for a tolerance of ± 3 Shore Hardness, then you will need to acquire the Durometer with a higher accuracy level (usually ± 1 SH).
3. Avoiding simple mistakes:
It’s easy to make a simple mistake when testing. If you combine one or more mistakes, you can compound the error, resulting in faulty reading. Here is a list of basic errors to avoid when testing by hand, it is by no means comprehensive.
1. Wrong scale of the durometer.
2. Sample Hardness is < 10 Shore or > 90 Shore.
3. Sample too warm or too cool.
4. Incorrect surface contact.
5. Sample to thin.
6. Sample surface irregular.
7. Taking a measurement from, or near, a previous location.
8. Measuring too close to the edge.
9. Test time period inconsistent.
10. Durometer out of specification.
4. Does the test, test's the operator or the sample?
One problem with applying a durometer by hand is the operator’s ability to manipulate the result subconsciously by applying a little too much, or slightly insufficient, pressure. Here are a couple of simple experiments to test the effectiveness of durometer testing in your company. Have a mixture of operators, regular operators, and random staff, around a table. Give a basic demonstration of how to use a durometer. Pass the durometer around with a selection of samples, keep the results a secret until the end and compare the variability of the results. Repeat the test with the hardness known and see how much closer the results are. Alternatively, try some blind testing. We have established how the application of the durometer onto the sample is imperative in achieving repeatable results. If you testing using a digital durometer with a hold function, carry out the test but without watching the display - lift the durometer off and read the held result. This can also be done with an analog durometer with the help of a college to record the value before
lifting the durometer off. They also highlight the importance of mounting the durometer onto a stand to eliminate variabilities.
In order to solve this problem, ADIS Analog Durometer CAFM helps to eliminate the above problem even by allowing unskilled operators to take the correct measurement every single time.
5. Testing irregular-shaped samples:
Testing these products, it's possible but with such a wide variety it would be impossible to cover them all here. Rubber Rollers are a typical example of a non-standard sample shape. The technique is to rotate the durometer, with a maximum hand fitted, around the circumference.
6. Testing v Checking:
We should not compare hand-held durometers with a stand-mounted Shore Hardness Tester. The hand-held durometer will check hardness, when used by a competent operator, and is a perfectly valid form of first-line quality control. A Stand mounted Shore Hardness Tester will give a definitive hardness value. It would be folly to stop production based on the result of a hand-held check, but it would be prudent to pause it and apply a definitive test…
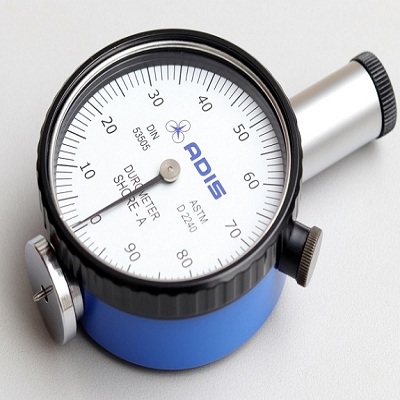
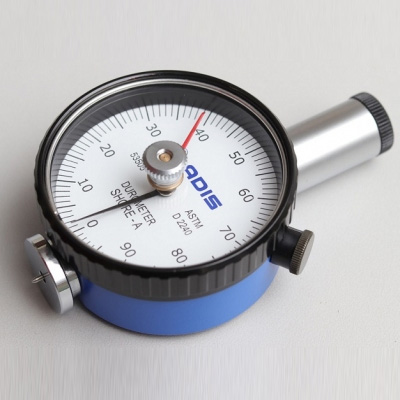
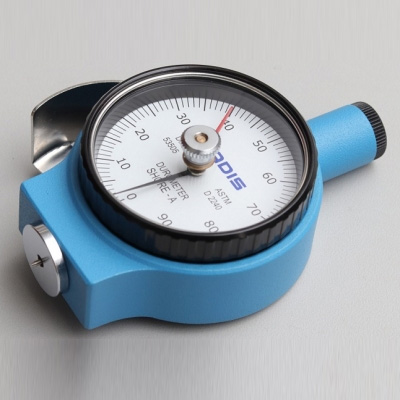
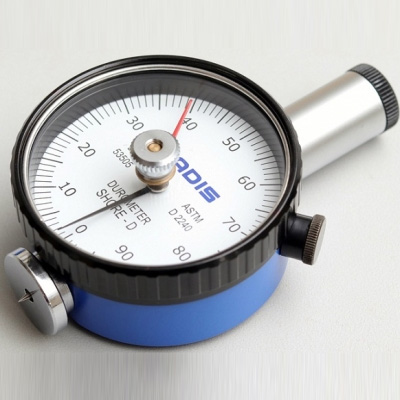
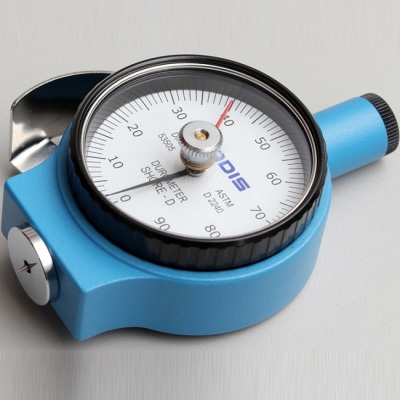
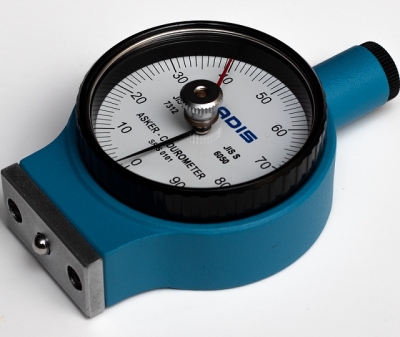
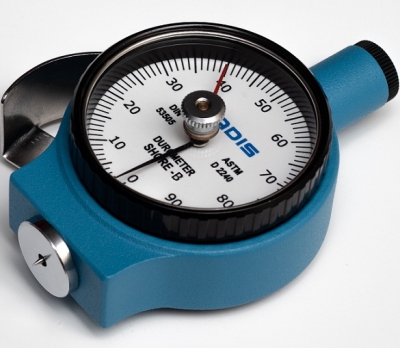
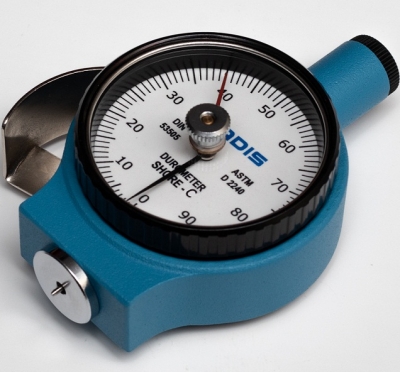
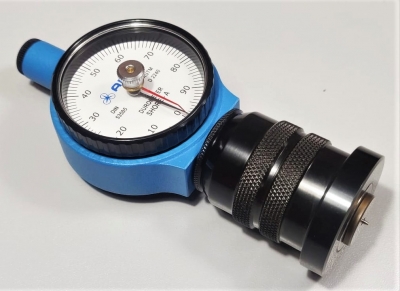
Durometers Products
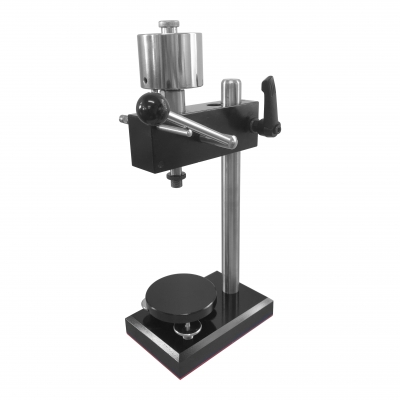
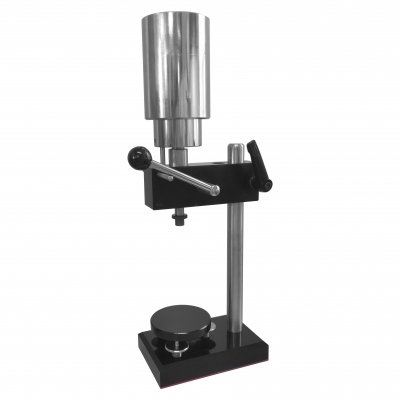
Durometers Stand (Shore - D)
250$
DESCRIPTION: ADIS Durometer Stand for Shore – D is fitte
Read More
